Transfer files without a USB drive or cloud storage
Move a project, a document or a folder of photos between computers in your Remoqa session. Choose the destination, send in either direction and check the result.
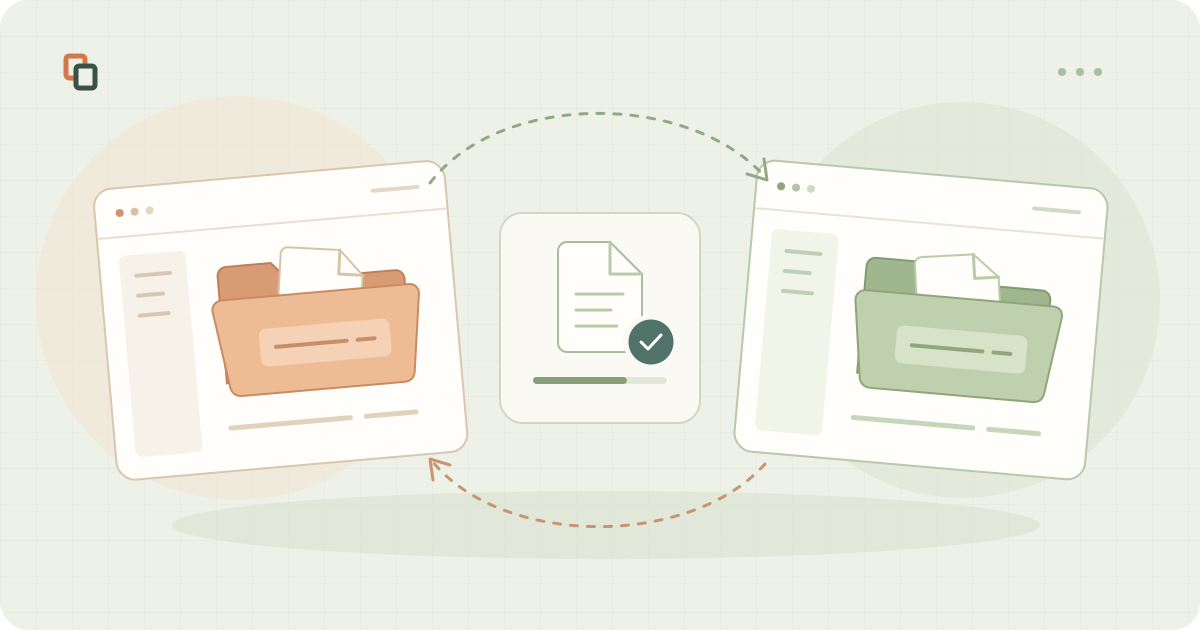
The short version
The desktop app lets you copy files in both directions during a Remoqa session. You need two online computers, authorized access and enough space in the destination folder.
You are helping someone with a document and need a copy on your own computer. Or you have finished a project on your laptop and want to put it on your desktop. If you are already connected through Remoqa, the file-transfer window gives you a place to do that without creating a cloud link or finding a USB drive.
Files travel within your session
This guide covers the Remoqa desktop apps. The file-transfer window shows the remote computer on the left and this computer on the right. You can browse to a source file and a destination folder without switching to another service.
The transfer uses the session's available connection, either direct or through a relay. Its contents are protected by end-to-end encryption. A relay forwards the encrypted traffic; it does not turn the transfer into a cloud drive where you can fetch the file later. Both computers must be online at the same time.
Send a file to the other computer
Start with a small file to check your destination and access before sending a large project.
- Prepare both computers
Install and open the Remoqa desktop app on each computer. Keep them awake and connected, and make sure you can write to the destination folder.
- Connect and authorize access
Enter the remote computer's nine-digit Remoqa ID and use an available access method, such as its current one-time password or approval on that computer. The ID alone does not grant access.
- Open the destination
Open File transfer from the session controls. In the left pane, browse the remote computer and open the folder that should receive the file. Double-click a folder to enter it.
- Select the file and copy left
In the right pane, find and select the file on this computer. Click the left arrow to copy it into the remote folder you opened. You can also select files in a folder or select a folder for transfer.
- Wait for Done and check the copy
Follow the transfer queue below the file panes. Once it reports Done, find the file in the destination folder and open it to check the result. Keep the original until you have verified the copy.
Bring a file back to this computer
To retrieve a remote file, reverse the direction. First open your destination folder in the right pane. Then select the file or folder in the left pane and click the right arrow. The queue shows the progress of the copy to this computer.
Check the folder path before each transfer, especially after browsing elsewhere. Copying a file does not remove the original, and later edits to one copy do not automatically update the other. Use a clearly named destination folder when you want to keep separate versions.
Before sending a large file
The file-transfer window displays the limits that apply to the current session. Availability and allowances can depend on your plan, connection route and remaining usage. Check that information before starting; a successful small transfer does not mean a larger batch will fit the allowance.
- Leave enough disk space
The receiving computer needs space for the files you are copying. Choose a folder your account can write to; a protected system folder may reject the transfer.
- Allow time for the upload
Transfer speed depends on both computers' network connections and the route between them. Other uploads or a weak wireless connection can slow it down. Watch the queue rather than assuming it has finished.
- Keep the session available
Do not put either computer to sleep or end the session while files are still transferring. If a transfer stops with an error, check the connection, available space and allowance, then retry the affected files.
Check the files, then carry on
After the queue has finished, confirm that the files you expected are in the destination folder. For a project, open the main document and check that its supporting files arrived too. You can continue working in the same remote session or disconnect when you are done.
Only transfer files you intend to share with the other computer. Encryption protects them in transit; the saved copy remains on the receiving device after the session ends. File transfer is a way to deliver a copy, so keep your usual backups for anything you cannot afford to lose.