Remote access without a static IP address
Reach your home computer using its Remoqa ID. A practical guide to connecting without a fixed IP address, port forwarding or dynamic DNS.
The short version
You do not need to buy a static IP address to use Remoqa. You need an online computer, its Remoqa ID and a valid way to approve access.
You leave a document on your home computer and want to open it from somewhere else. That should not begin with a call to your internet provider. Remoqa lets you find the computer by its device ID, so you can set up remote access without keeping track of your home's IP address.
Static and public are different things
A static IP address stays assigned over time. A public IP address can be routed on the internet, though firewalls can still restrict incoming connections. An address can be public and change periodically, or stay fixed inside a private network.
Your provider may also use carrier-grade NAT (CGNAT), with multiple customers sharing a public address. Remoqa's relay route does not require a dedicated public address on your home connection: the app connects out to the service.
Use a device ID instead of an IP address
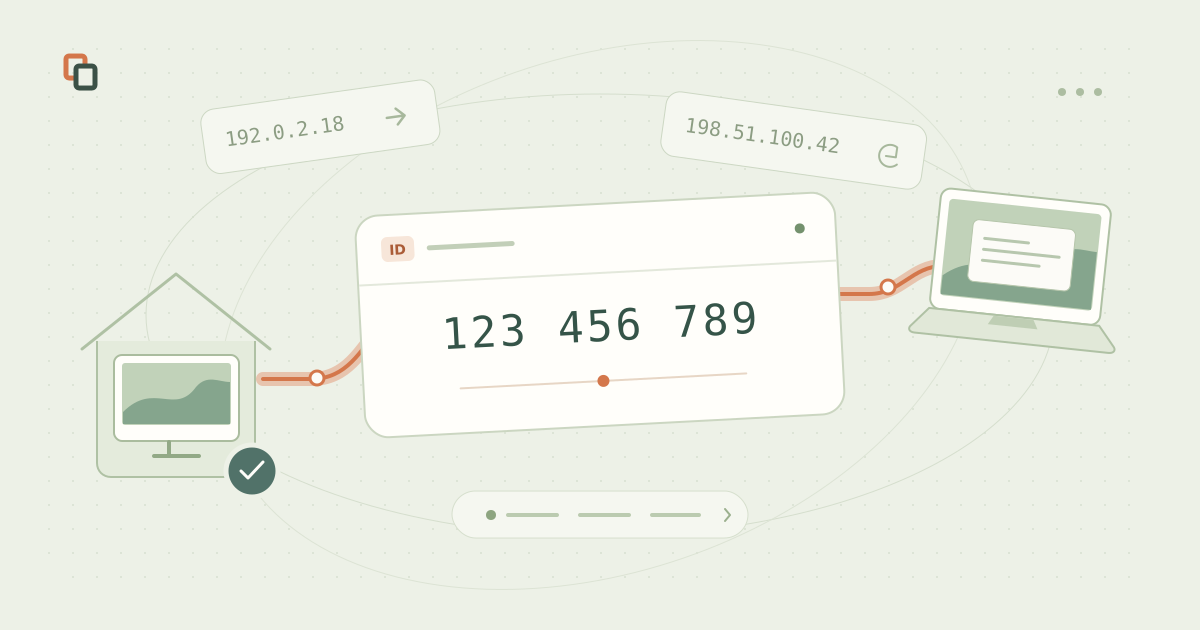
Remoqa shows a nine-digit device ID, grouped like 123 456 789. It identifies the computer within the service. It is neither an IP address nor a password, and knowing it does not give someone permission to use your computer.
The service helps locate the online device and establish an available connection. If your network address changes, the app needs to reconnect to the service. An active session may be interrupted, but you do not need to enter the new IP address to start another one.
Your first connection, step by step
Set this up while you still have access to the computer you want to reach.
- Install Remoqa on the home computer
Choose its installer from Downloads, launch the app and check that it is online. Grant the operating system permissions needed for screen capture and remote control.
- Prepare the ID and access method
Note the Remoqa ID. Use the current one-time password or approve the request at the home computer. For unattended access, configure a permanent password in advance on a supported host.
- Open Remoqa on your other device
Use an available Remoqa app or the browser viewer. The Downloads page lists the supported options; the browser viewer does not require a viewer app installation.
- Enter the home computer's ID
Start a connection to that ID, then enter the required password or have the request accepted on the remote computer. The ID locates the device; this separate step authorizes access.
- Check the session before you leave
Confirm that you can see the expected desktop and use the controls you need. End the session, then try reconnecting from the network you plan to use, where permitted.
What you can leave off your setup list
For the relay route, you do not need a static or dedicated public IP address, an incoming port-forwarding rule, or a separate network tunnel. Both devices make outgoing connections. Remoqa can use a direct route where supported, or a relay when needed.
Dynamic DNS keeps a name pointed at a changing address. It does not, by itself, make a computer reachable through CGNAT or authorize remote access. You do not need to set it up to connect by Remoqa ID. Both networks still have to allow access to the service and its relay.
Keep the computer ready, and access private
Remote access cannot reach a computer that is powered off, asleep or disconnected. Keep Remoqa running and check the required system permissions. A saved password does not wake the computer or guarantee that the app will be available after a restart; test your actual setup before relying on it.
Remoqa protects session content with end-to-end encryption, including relay connections. Keep passwords private, approve only trusted requests and end the session when you are finished. If a managed network blocks the service, ask its administrator to check access.