Share your screen without installing an app
Show a browser tab, an app window or your whole screen with Remoqa. Choose what to share, invite a helper and stop when you are done.
The short version
The person sharing a computer screen needs no app installation or account. Open the sharing page in a supported desktop browser and choose a source. Your helper can watch, while the mouse and keyboard stay with you. Sound is not transmitted.
A chart looks wrong after you change a setting, but a screenshot does not show the steps that led to it. Letting a colleague watch you repeat those steps can make the problem easier to explain. Remoqa’s browser sharing lets you show what is happening without first setting up a desktop app.
Start on the computer you want to show
Open Remoqa’s screen-sharing page on the Windows, macOS or Linux computer with the content you want to show. You do not need to create an account or install Remoqa on that computer. Use a supported desktop browser; this sharing mode is unavailable in mobile browsers on iPhone, iPad and Android.
This is a viewing session. Your helper sees the selected area, and you make the changes yourself. Arrange a separate phone or voice call for the conversation: browser sharing sends the picture without microphone or computer audio.
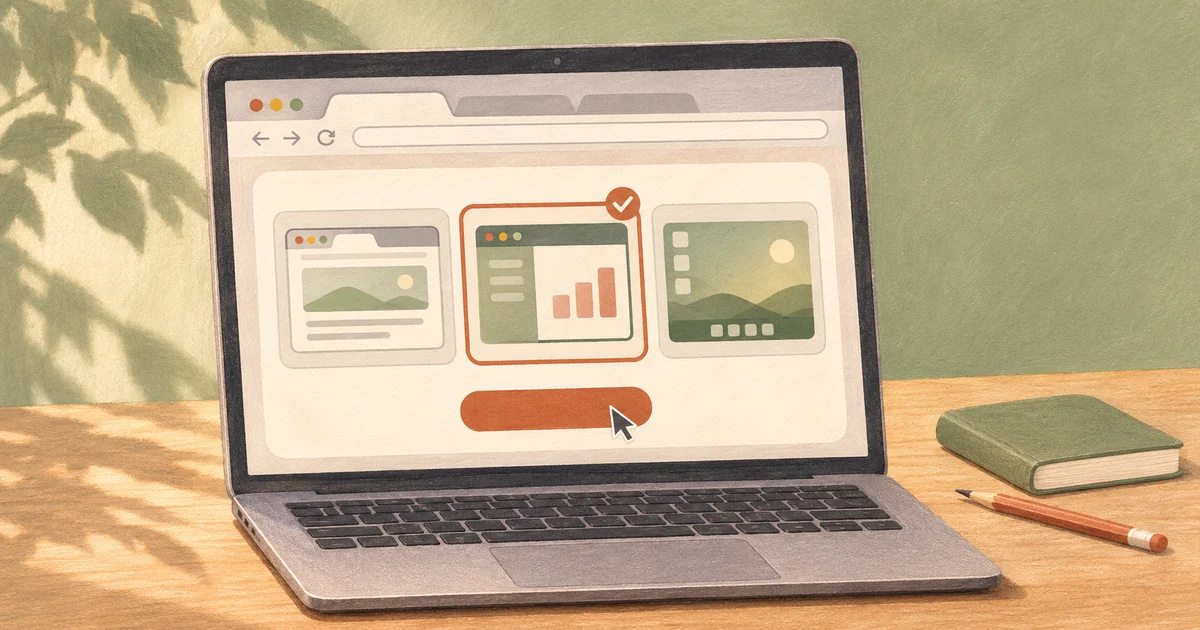
Choose a tab, a window or the screen
Select Share your screen. In the browser’s chooser, select the source you want to show and confirm. The available choices depend on your browser. Close unrelated content and silence notifications before sharing, especially if you choose the whole screen.
- One browser tab
Useful for a website, an online document or a form. Choose the tab with the content you want your helper to see.
- One application window
Useful for a problem inside one app. A separate settings or dialogue window may fall outside the selected window, so check what your helper can see.
- The whole screen
Useful when you need to move between applications. Other windows and notifications appearing on that screen will be visible too.
Check the preview before inviting anyone
Look at Shared screen preview on the Remoqa page. It should show the content you meant to share. If you see the sharing page repeating inside itself, you have selected that page instead of the window or tab you wanted.
To correct the selection, stop sharing and start again with the right source. Then return to your document or app, keeping the Remoqa sharing page open. The preview helps you check the selected area before your helper connects.
Give your helper access
Wait for Device ID and One-time password to appear on the sharing page. Use the copy buttons to send both to the person you have agreed to work with. Keep those details between you.
- Choose how your helper will connect
They can enter the ID and one-time password in a Remoqa app. Alternatively, they can open the browser viewer and sign in to their own account. The person showing the screen needs no account; the browser viewer does require one.
- Enter the connection details
In the browser viewer, enter the Remoqa ID, expand Connect with a password, enter the one-time password in Device password and select Connect. If your helper connects without a password, your sharing page asks Allow screen viewing? Accept the expected request with Allow, or choose Decline.
- Confirm the view and show the problem
Ask your helper to confirm that they can see the right window. Repeat the steps that cause the problem, pausing for their guidance. They watch while you use your own mouse and keyboard.
Finish sharing, or choose a different source
When you finish, return to Remoqa and select Stop sharing. Capture stops and the preview disappears. You can also use your browser’s stop-sharing control or close the sharing page. Refreshing that page interrupts the current demonstration too.
To show a different tab or application, stop and start again, then select the new source. Send your helper the ID and password currently displayed after restarting; do not rely on the details from an earlier demonstration.